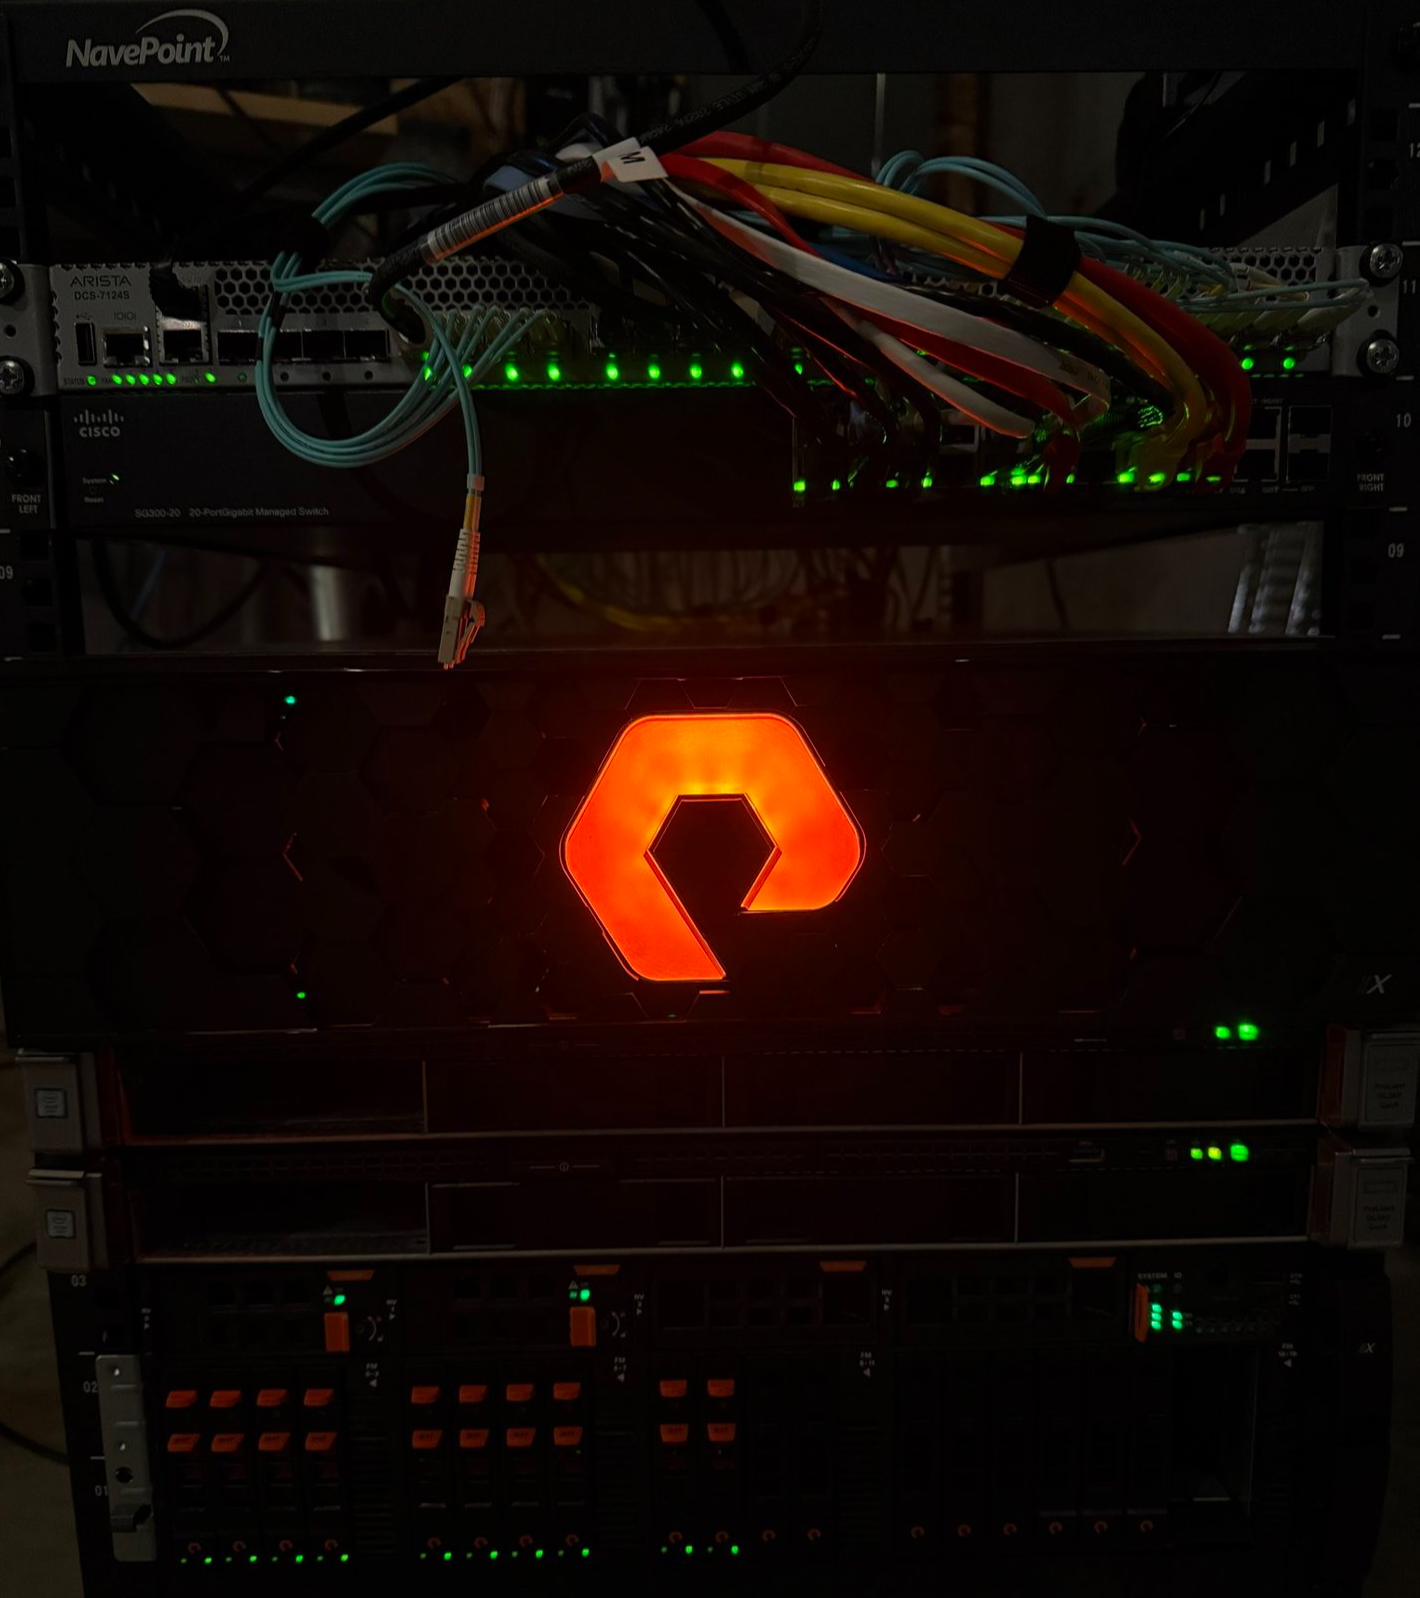
Building an Enterprise Data Cloud at Home with Pure Storage Fusion — Part 1
December 1, 2025
Upgrading the Domain Controller: Or, “Why Is My Internet Suddenly Moving Like a Bag of Wet Cement?”
If you spend your days talking about Enterprise Data Cloud and “intelligent control planes,” it’s only a matter of time before you start wondering: what would this actually look like in my own lab? Not a glossy demo environment, but a slightly messy, very real setup with old domain controllers, forgotten service accounts, and projects that started strong and then… got preempted by life.
That’s exactly what this series is about: taking Pure Storage Fusion—the intelligent control plane behind Pure’s Enterprise Data Cloud vision—and wiring it into a home lab step by step. Instead of starting with a perfectly curated environment, I’m beginning from where many of us really are: a long-lived Windows Server 2012 R2 domain controller that has done its job faithfully, but is well past its expiration date.
Before I can let Fusion manage storage as a unified, policy-driven cloud of data, I need a modern, secure, and supported identity foundation. That means upgrading Active Directory to Windows Server 2022, cleaning up the cruft that’s accumulated over the years, and putting some basic hygiene in place so that when I finally join my arrays to the domain, I’m not just automating bad assumptions.
This first post focuses entirely on that groundwork: planning and executing the domain controller upgrade, validating AD health, and getting the lab ready for a more “enterprise-like” experience at home. It’s the unglamorous, necessary prep work that makes the next step possible.
In the second post (time permitting), I’ll finally bring it all together: joining the Pure arrays to the upgraded AD domain, enabling Fusion, and showing how an intelligent control plane can turn a handful of independent systems into something that looks and feels much closer to an Enterprise Data Cloud—even when it’s all running in a basement half-rack.
Step 1: Downloading Windows Server 2022… and Immediately Hitting a Wall
No domain controller upgrade story truly begins until something breaks before you even install anything. Or as Mile Tyson supposedly said “Everybody has a plan until they get punched in the face.”
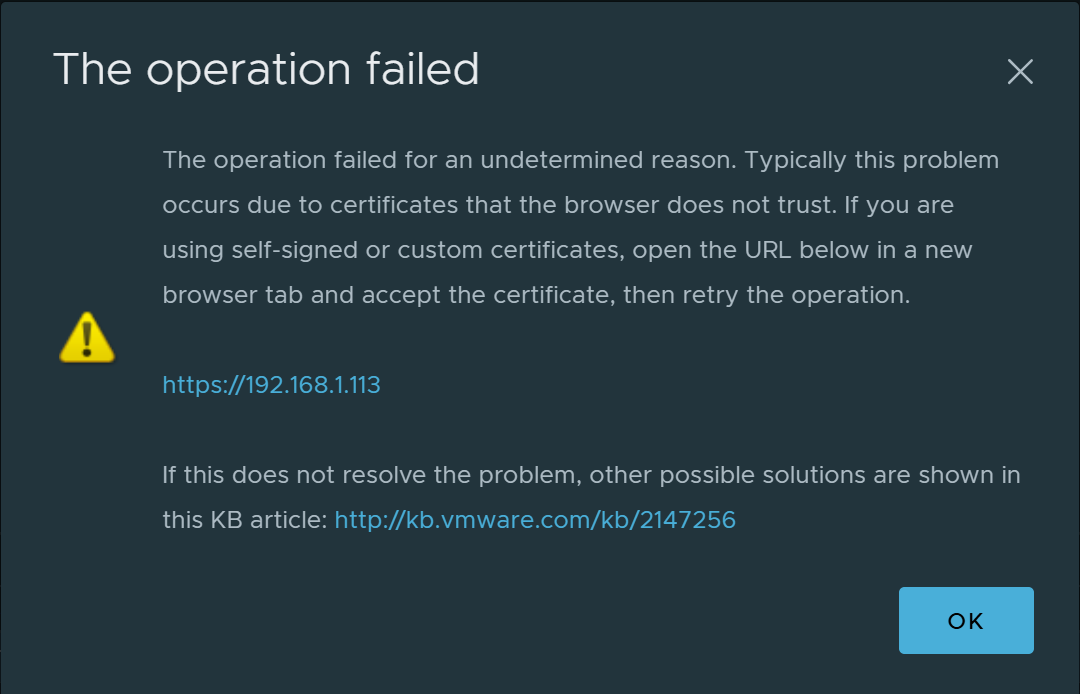
For me, this began with downloading the Windows Server 2022 Evaluation ISO and attempting to upload it to my vSphere datastore—like a law-abiding home-lab citizen.
Except… nope.
The upload immediately failed due to certificate errors. Because of course it did. vCenter was already in a “don’t ask questions, just click through the warnings” state of bliss, but apparently the datastore upload UI wanted no part of that life.
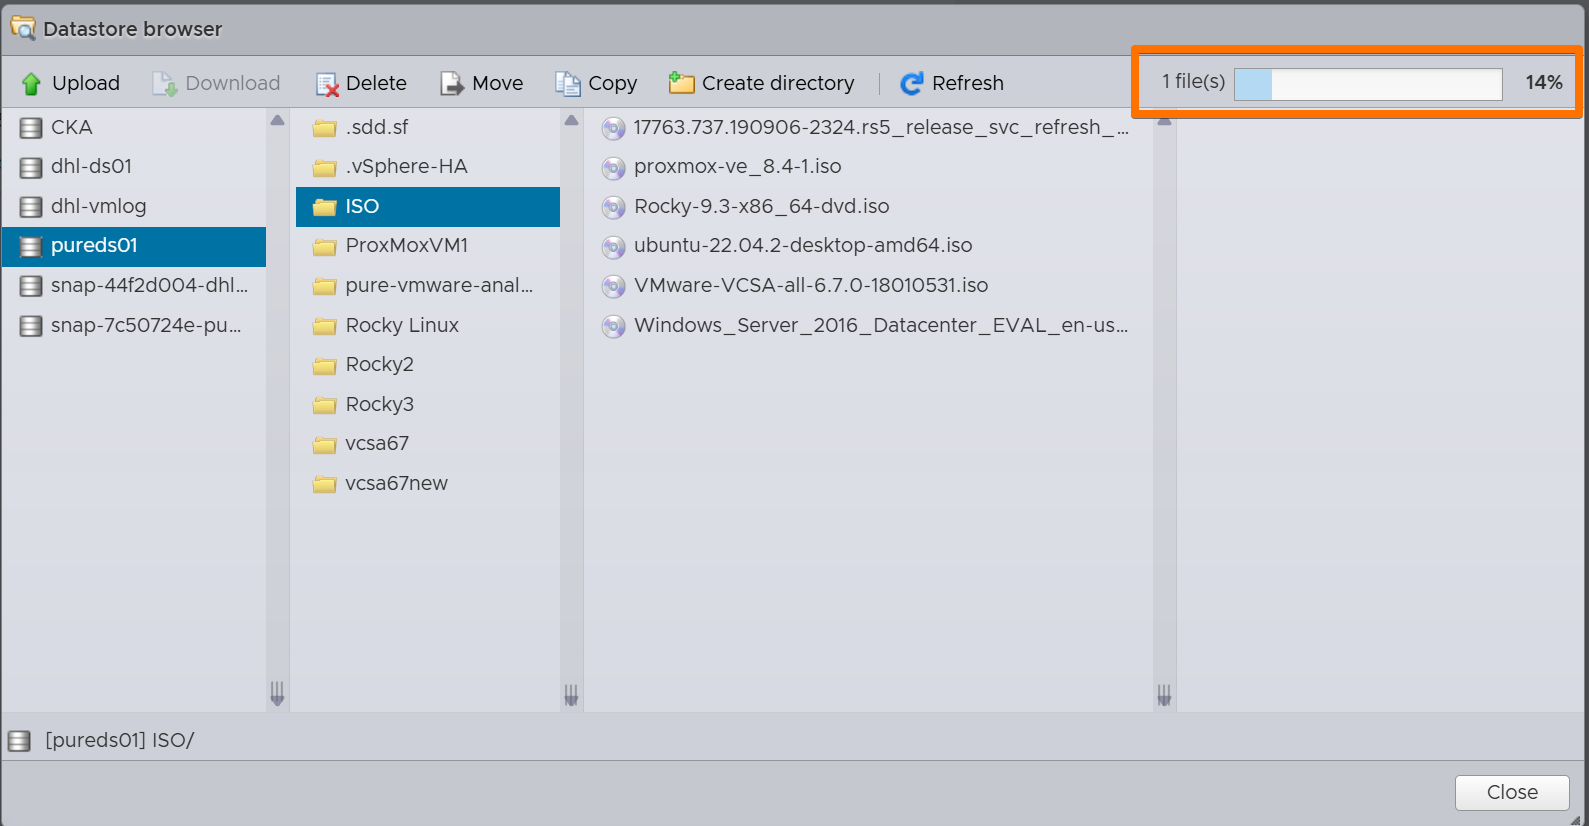
Solution: Go Old-School ESXi
I logged directly into one of the ESXi hosts, bypassed the vCenter grumpiness entirely, and uploaded the ISO straight to the datastore. No drama. No complaints. No passive-aggressive red banners.
If you’re in a similar situation:
- Open a browser to the ESXi host directly (https://esxi-host-fqdn-or-ip/).
- Log in with root or an admin account.
- Navigate to Storage → Datastore Browser.
- Upload the Windows Server 2022 ISO into your preferred datastore folder.
Suddenly, the world is simple again.
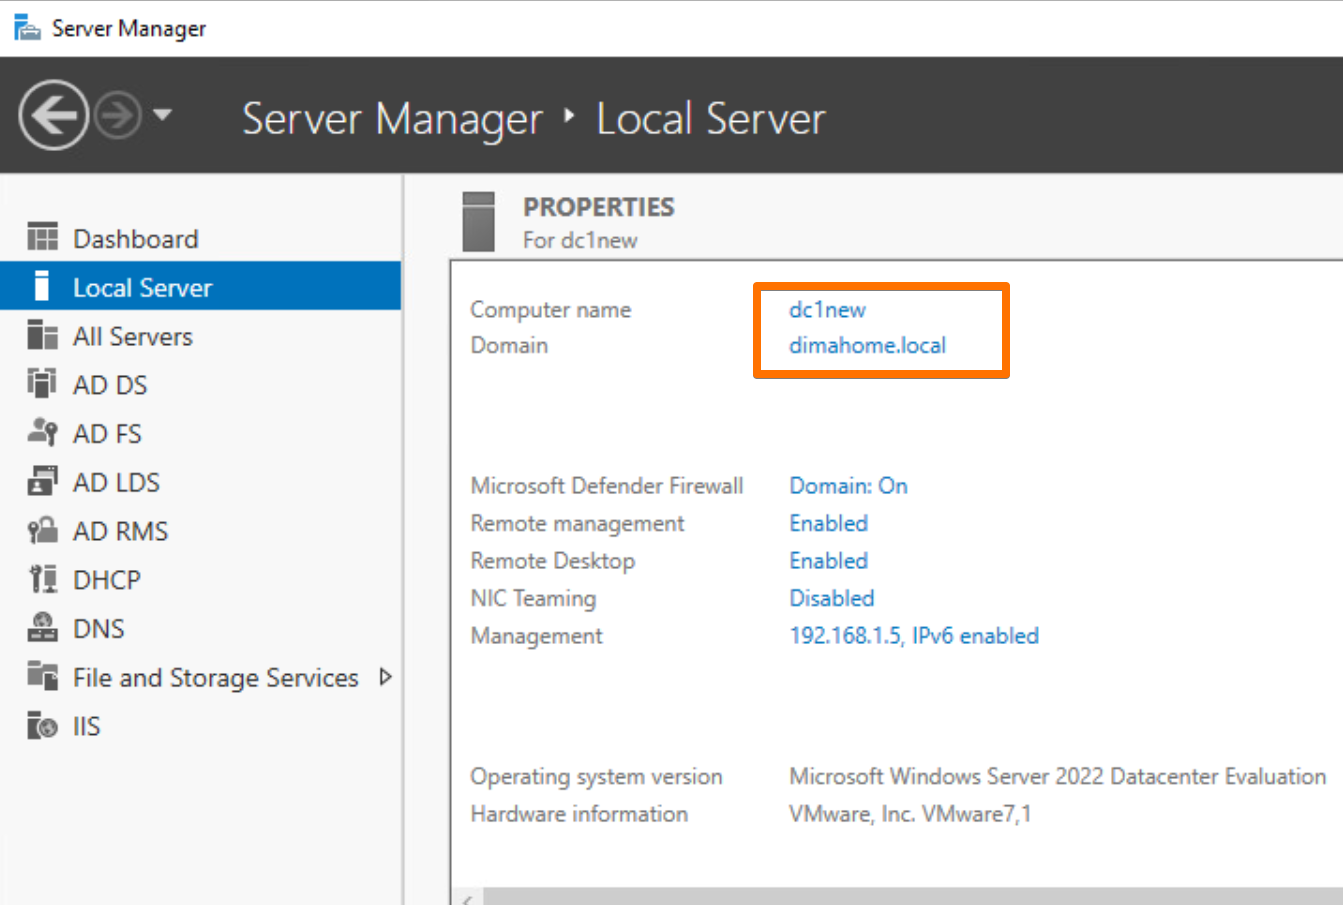
Step 2: Deploying the New Windows Server 2022 VM
Once the ISO was safely in place, I spun up a new VM for the future domain controller: DC1NEW.
VM configuration (lab-friendly, not overkill):
- Compatibility: vSphere 7
- Guest OS: Windows Server 2022
- CPU: 4 vCPUs
- Memory: 8 GB (it’s a DC, not an AI cluster)
- Disk: 400 GB Thin Provisioned
- Network: Same port group as the old DC
- Firmware: EFI (UEFI)
- NIC Type: VMXNET3

And then… the Setup Screen
Booting into the installer reminded me that Windows Server setup screens have not meaningfully changed since 2012 R2.
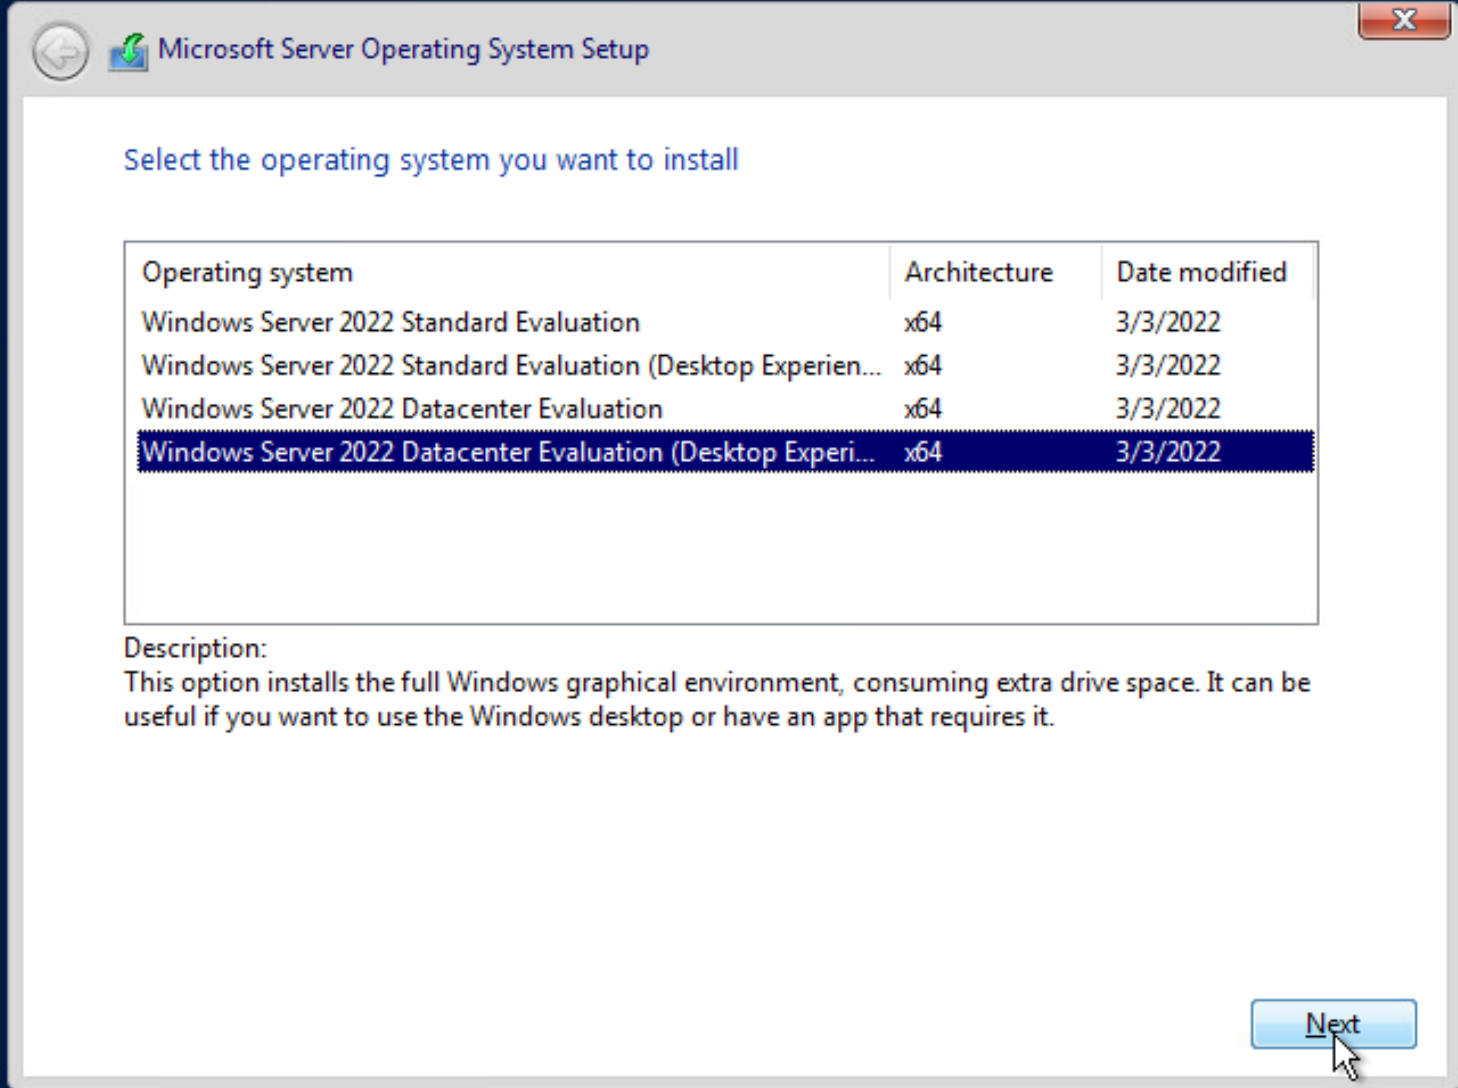
Same fonts. Same layout. Same “Install Now” button that looks like it took a gap year and never returned.
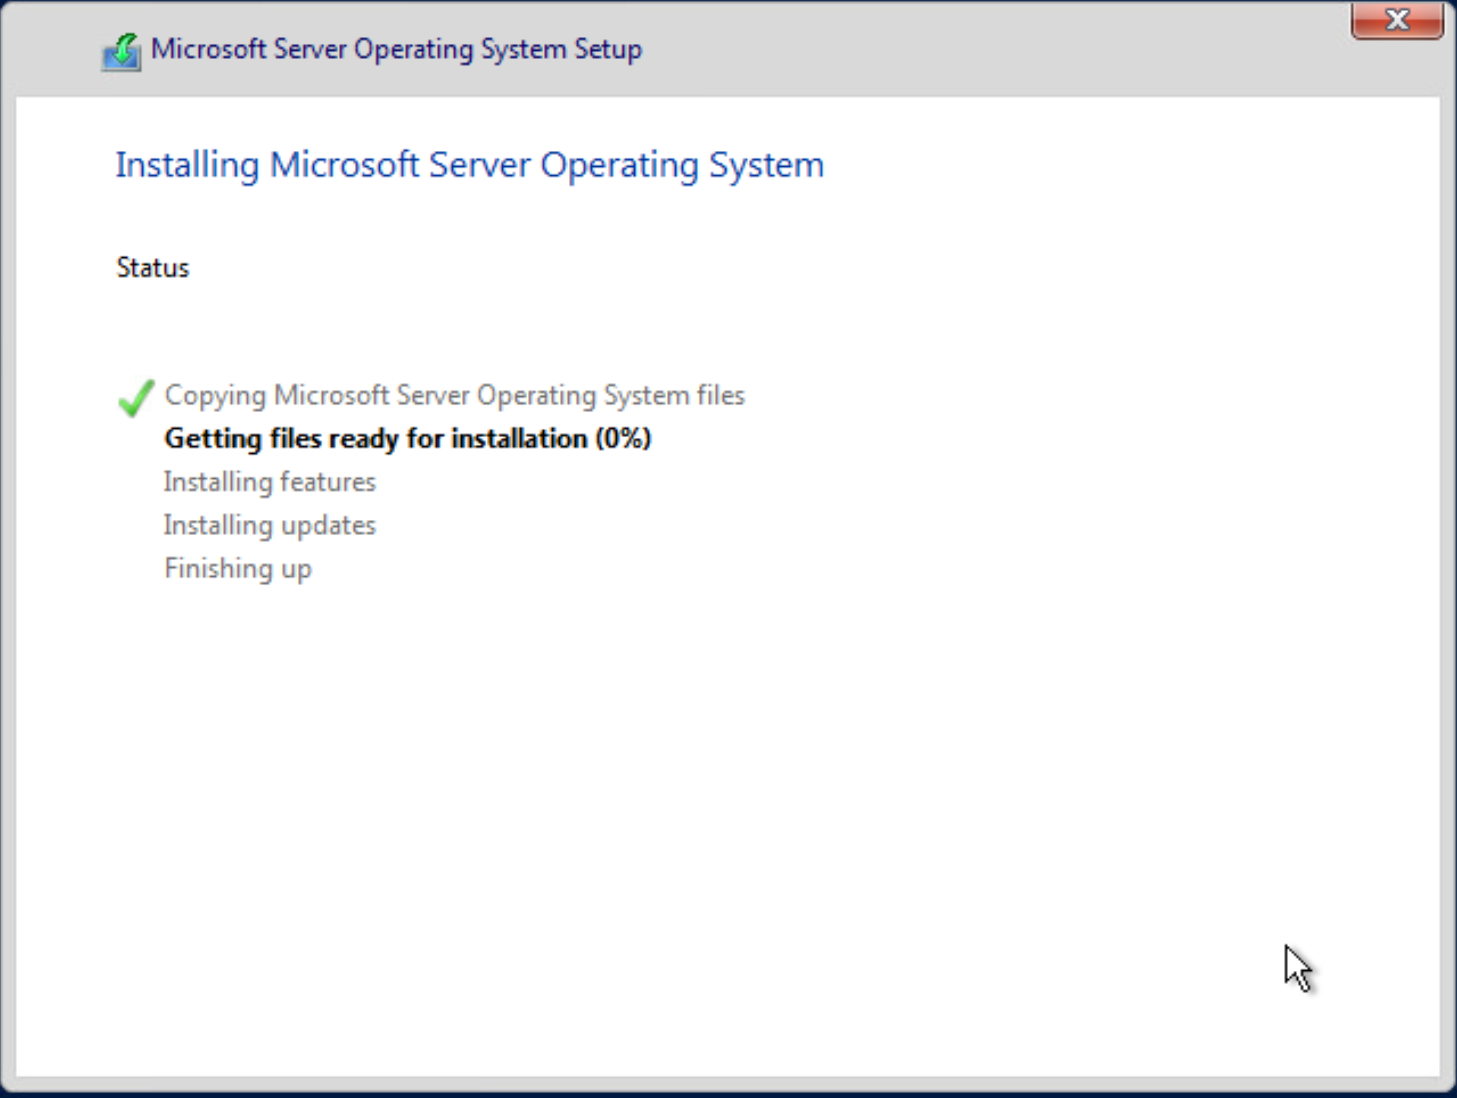
If you squinted, you could almost believe you were still installing 2012 R2, which felt thematically appropriate for a blog post about “finally cleaning up old stuff.”
Step 3: Build, Patch, and Prepare for Promotion
With Server 2022 online at temporary IP 192.168.1.5, it was time to give it purpose.
3.1 Set the Basics
- Assign static IP:
192.168.1.5 - Set gateway and subnet according to the home network
- Set DNS (initially pointing at the old DC,
192.168.1.2, to allow domain join)
3.2 Install AD DS and DNS Roles
From Server Manager
or from PowerShell:
Install-WindowsFeature AD-Domain-Services,DNS -IncludeManagementTools
This prepares the box to eventually become a domain controller but doesn’t promote it yet.
3.3 Join the Domain and Patch It
Before promoting, I joined the new server to the existing domain:
- Right-click This PC → Properties → Change settings.
- Join to the existing AD domain.
- Reboot when prompted.
Then, the unglamorous part: Windows Update.
Let everything install. Reboot as many times as it takes. It’s much easier to deal with patches now than after promotion.
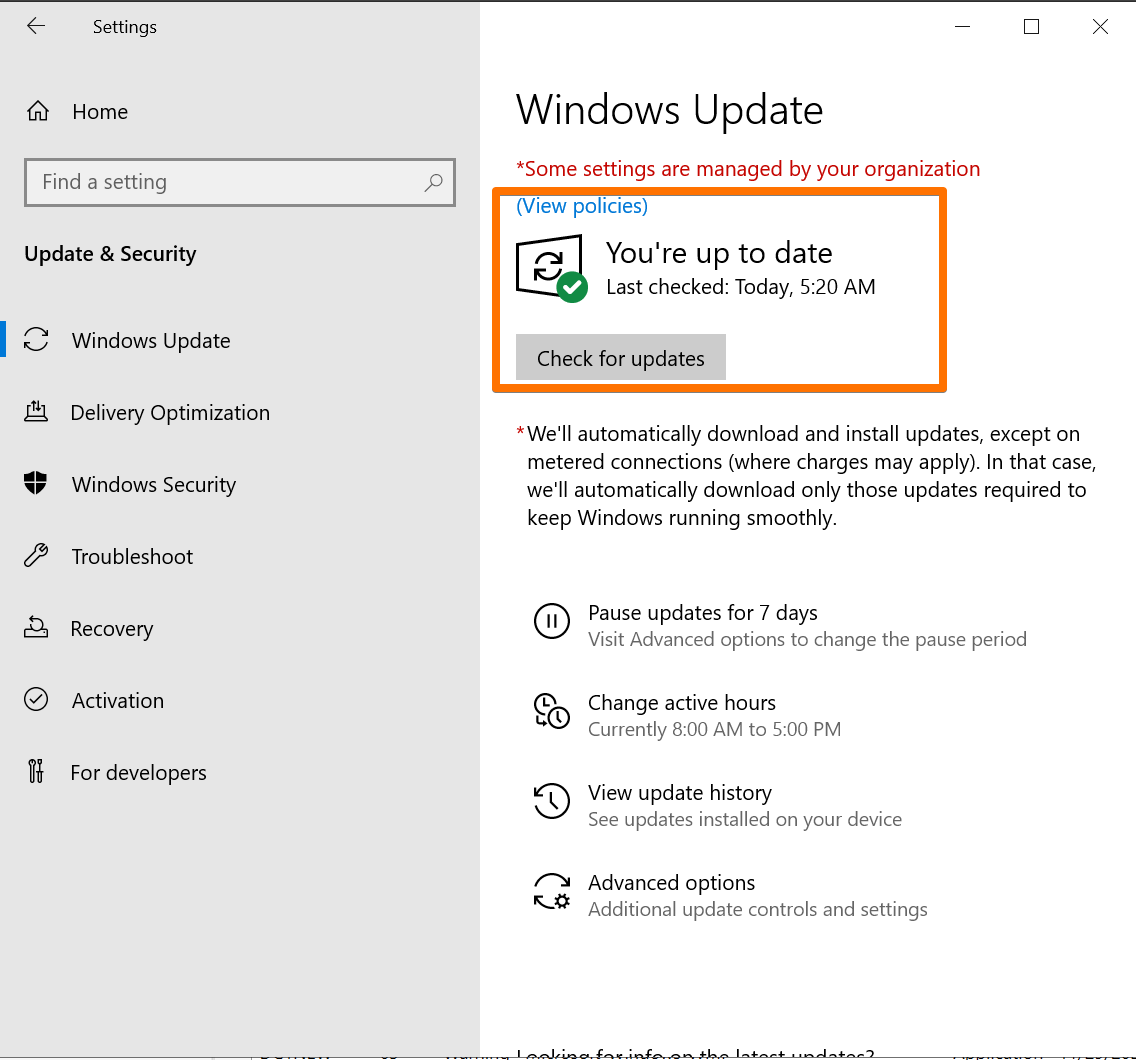
At this point, the new server was domain-joined, patched, and ready for its glow-up.
Step 4: Promote to Domain Controller & Transfer the FSMO Roles
Now the fun part: promotion and role transfer.
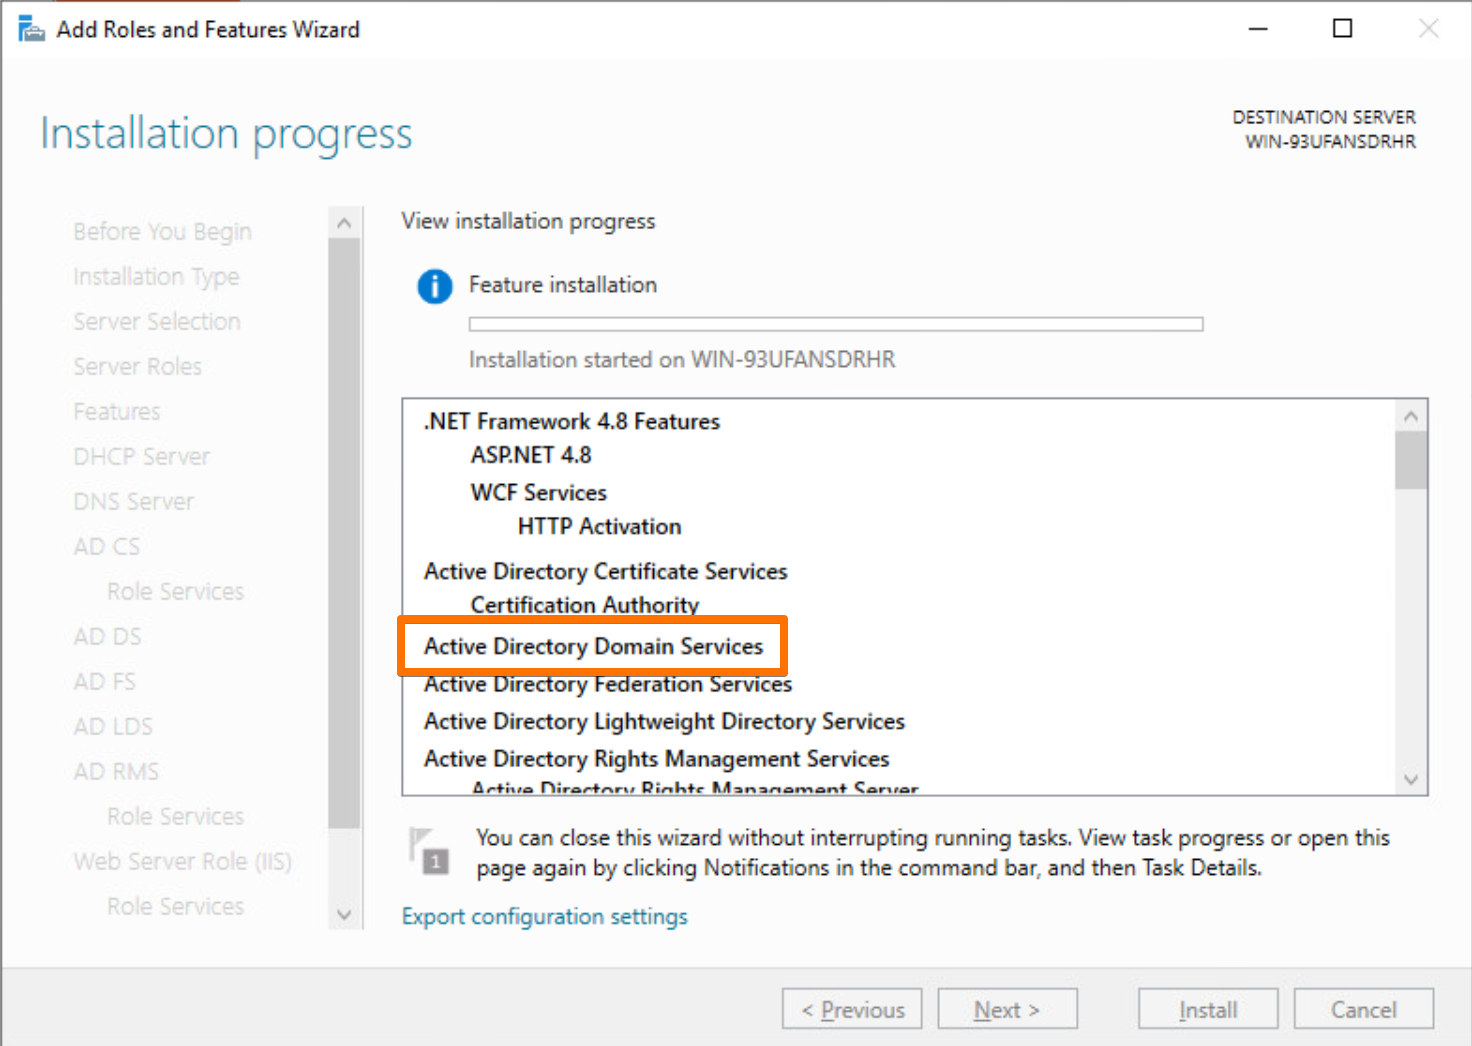
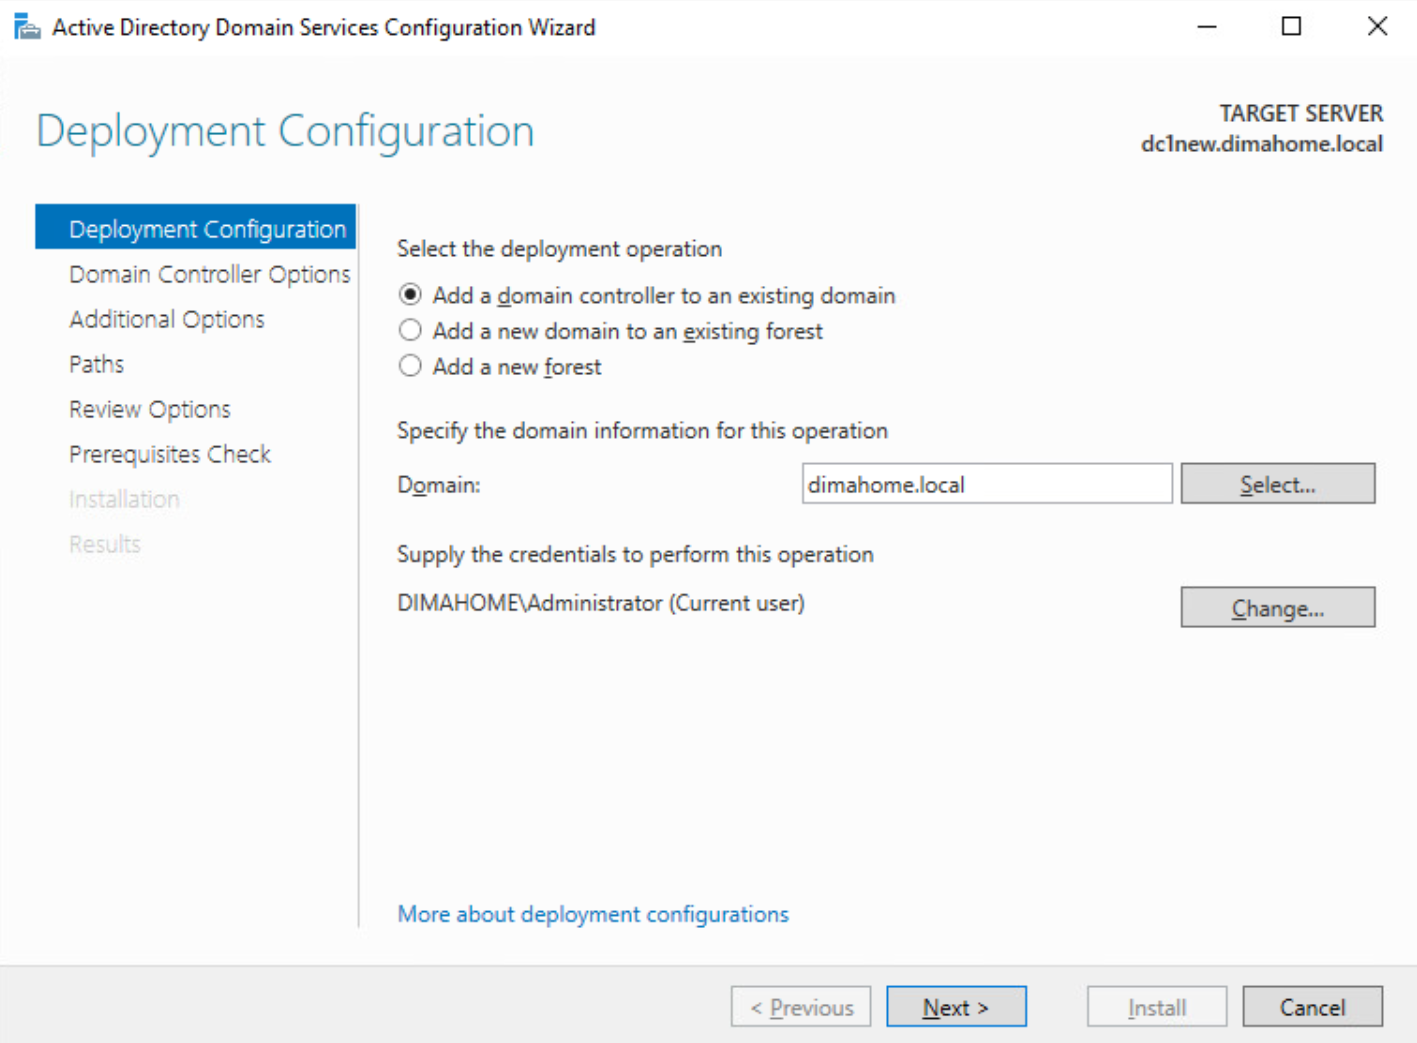
4.1 Promote DC1NEW to a Domain Controller
From Server Manager → AD DS:
- Click the yellow warning triangle: Promote this server to a domain controller.
- Choose Add a domain controller to an existing domain.
- Confirm domain name and credentials.
- Let it install DNS and configure the necessary services.
Under the hood, the PowerShell equivalent looks like this:
Install-ADDSDomainController
After a reboot, DC1NEW officially joined the club as a domain controller.
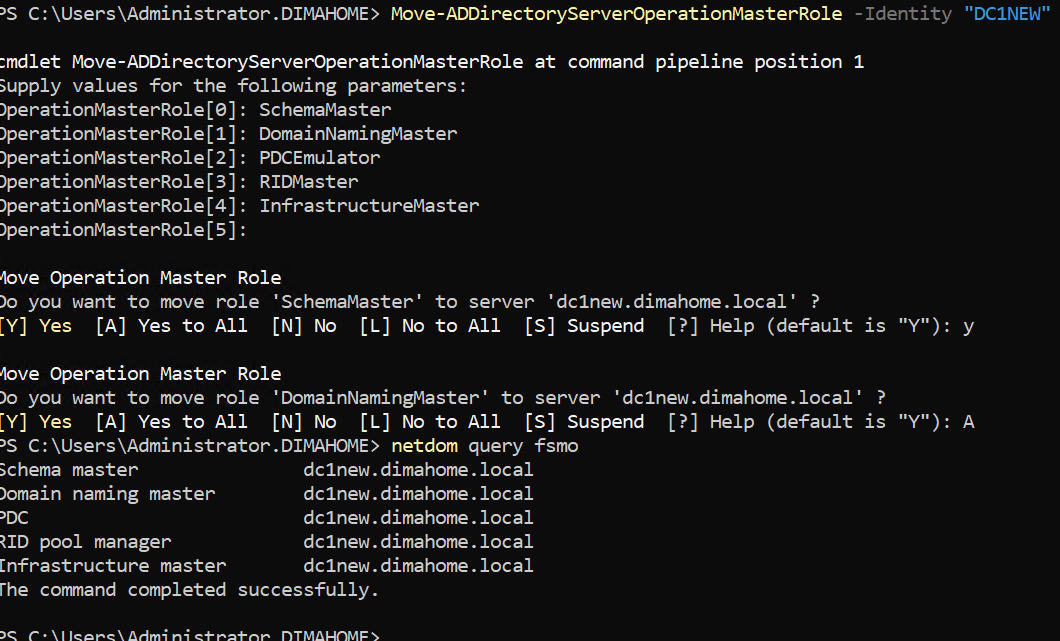
4.2 Transfer FSMO Roles to DC1NEW
With two DCs live, it was time to move the FSMO roles from the old DC (DC1) to DC1NEW.
On DC1NEW, run:
Move-ADDirectoryServerOperationMasterRole -Identity "DC1NEW" -OperationMasterRole SchemaMaster, DomainNamingMaster, PDCEmulator, RIDMaster, InfrastructureMaster
You’ll get prompted to confirm each role transfer. Say Yes like you mean it.
After this, DC1NEW owns:
- Schema Master
- Domain Naming Master
- PDC Emulator
- RID Master
- Infrastructure Master
Step 5: Validate Replication (Because Trust, but Verify)
Before touching the old DC, I wanted to make absolutely sure AD and replication were healthy.
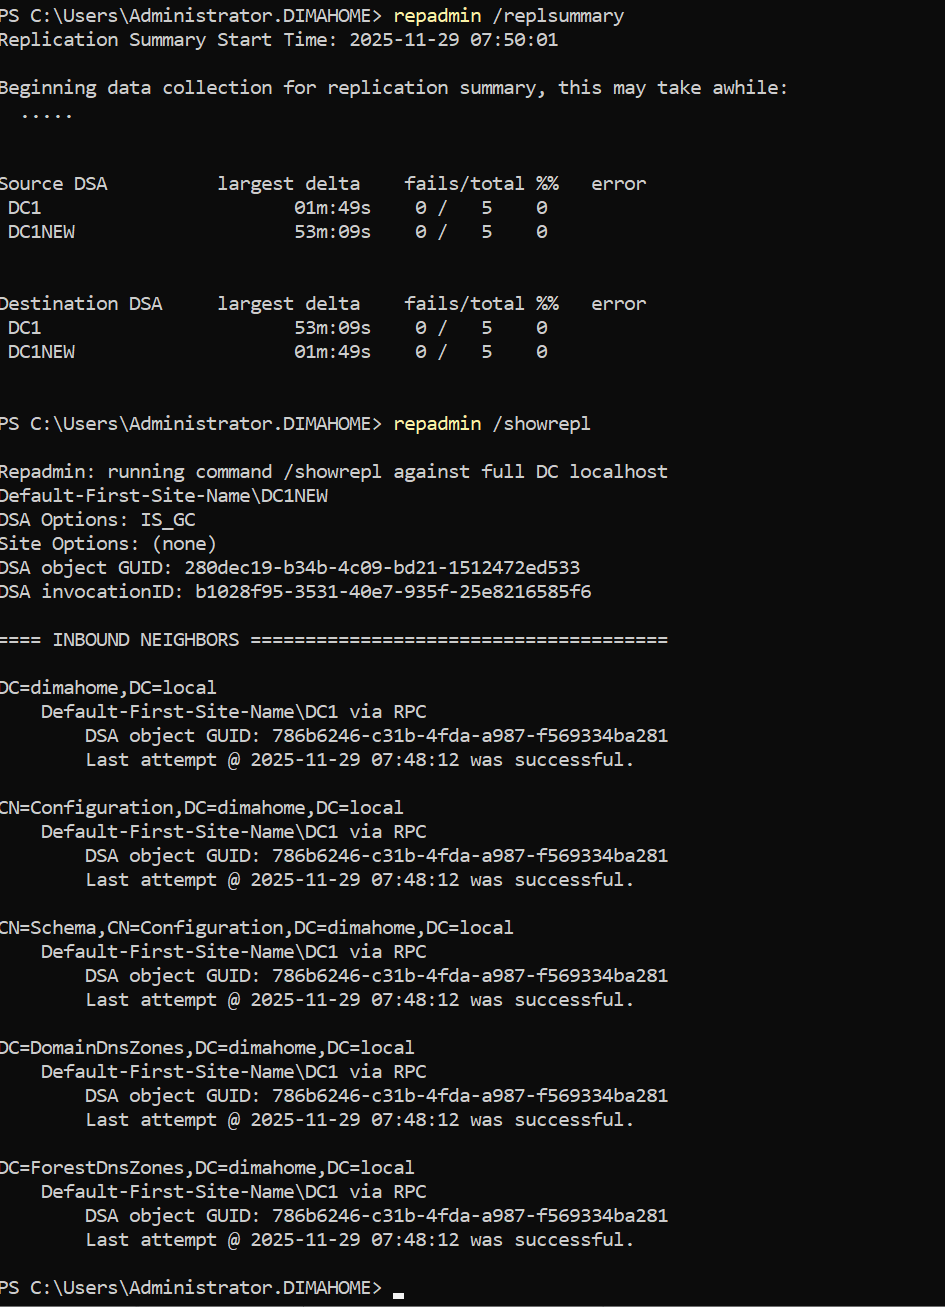
From DC1NEW:
repadmin /replsummary
repadmin /showrepl
dcdiag /v
Things to look for:
- No last error values in
repadmin /replsummary - Successful inbound and outbound connections in
repadmin /showrepl - No critical errors from
dcdiag /v
In my case, everything looked clean. The old DC (DC1) was still healthy enough to hand things off gracefully.
Step 6: Demote the Old DC (DC1 — 192.168.1.2)
Now for the emotional part: saying goodbye to the trusty Windows Server 2012 R2 domain controller.
6.1 Demote DC1
On DC1, I used:
Uninstall-ADDSDomainController
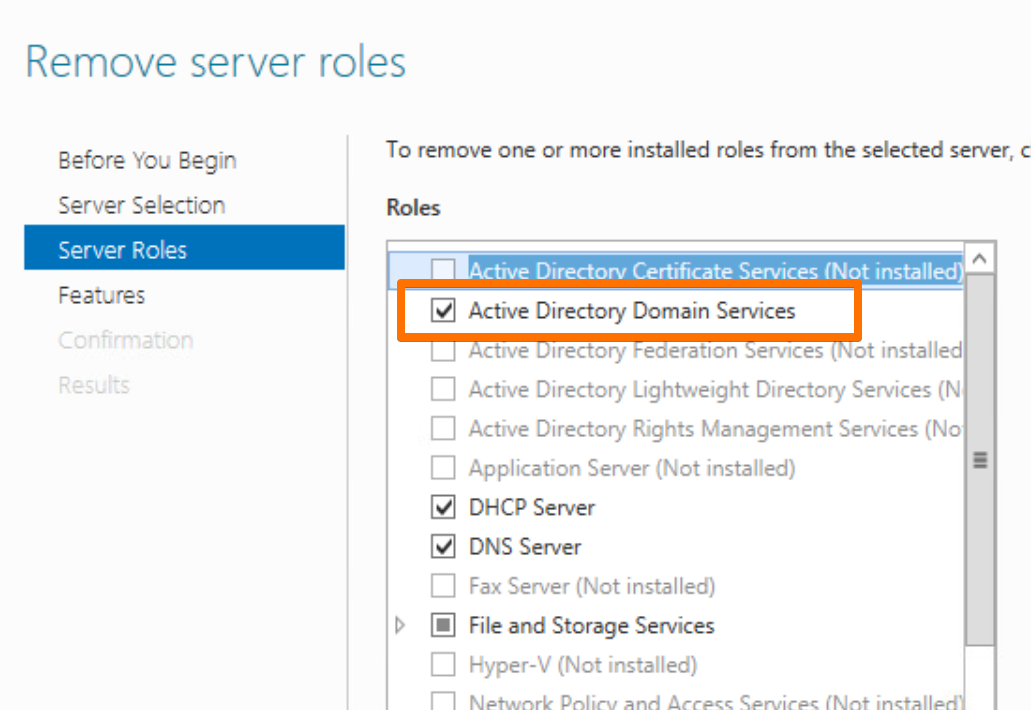
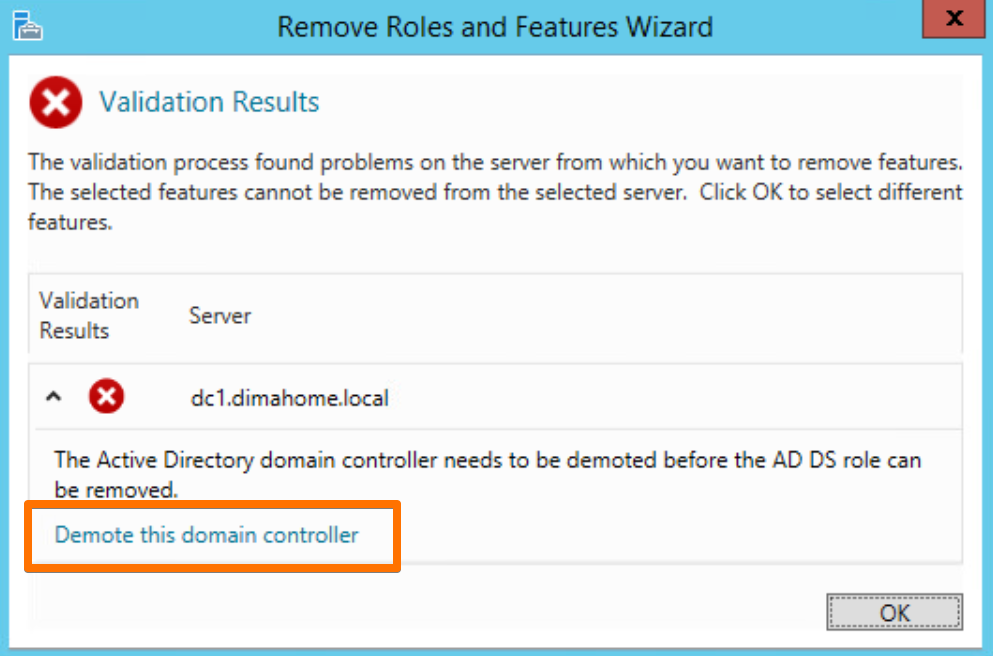
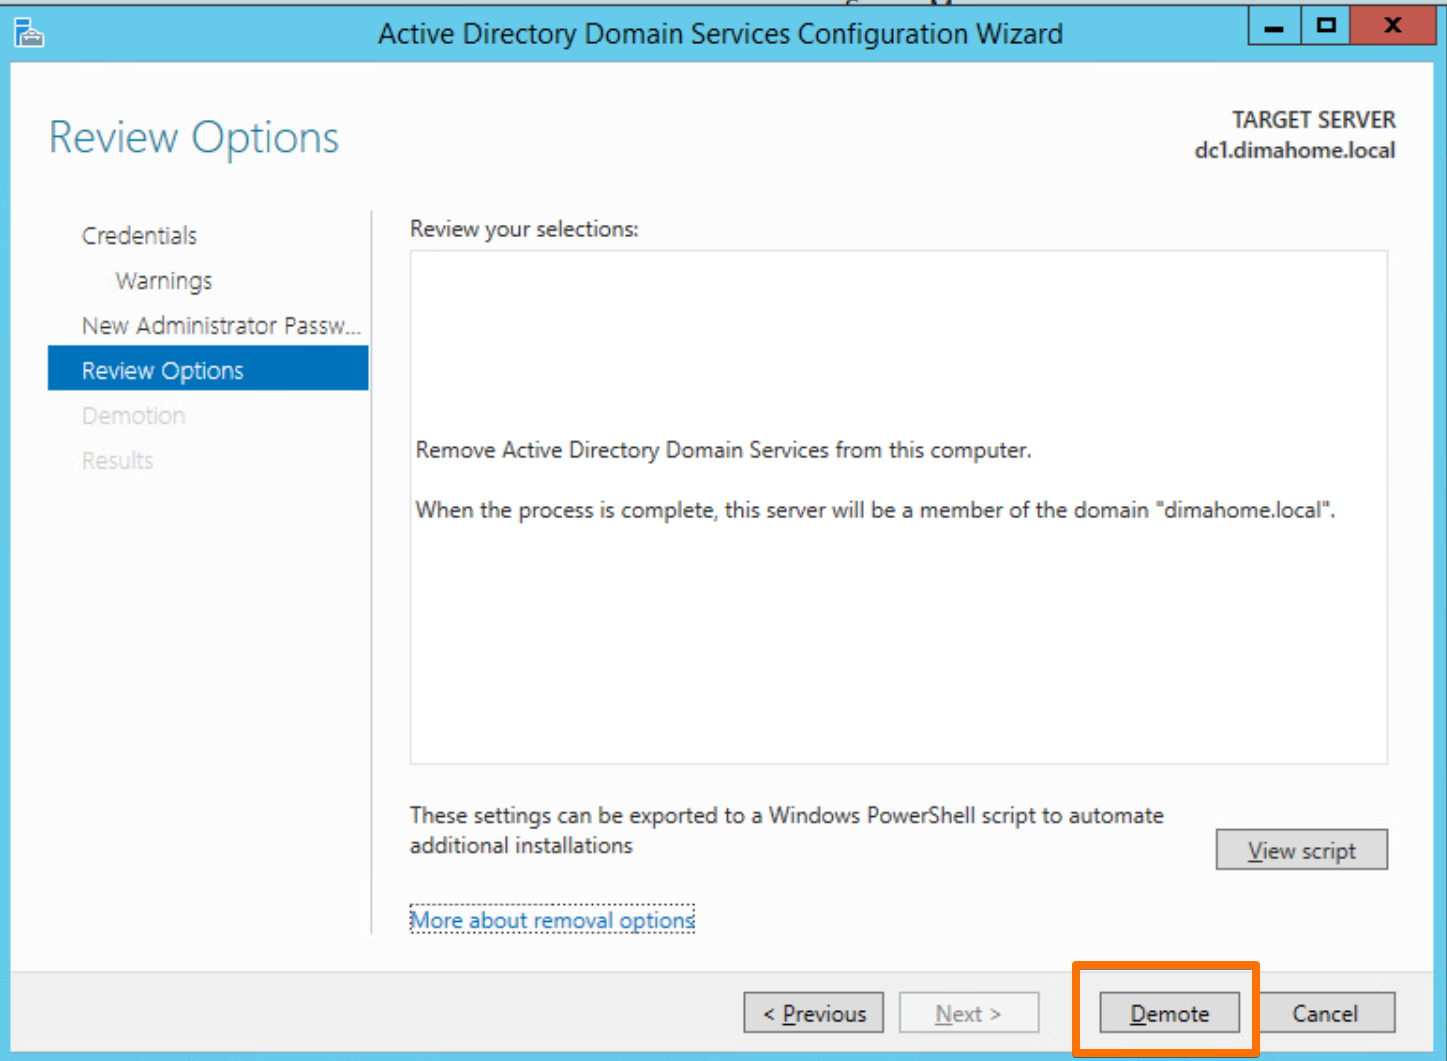
Or through the GUI:
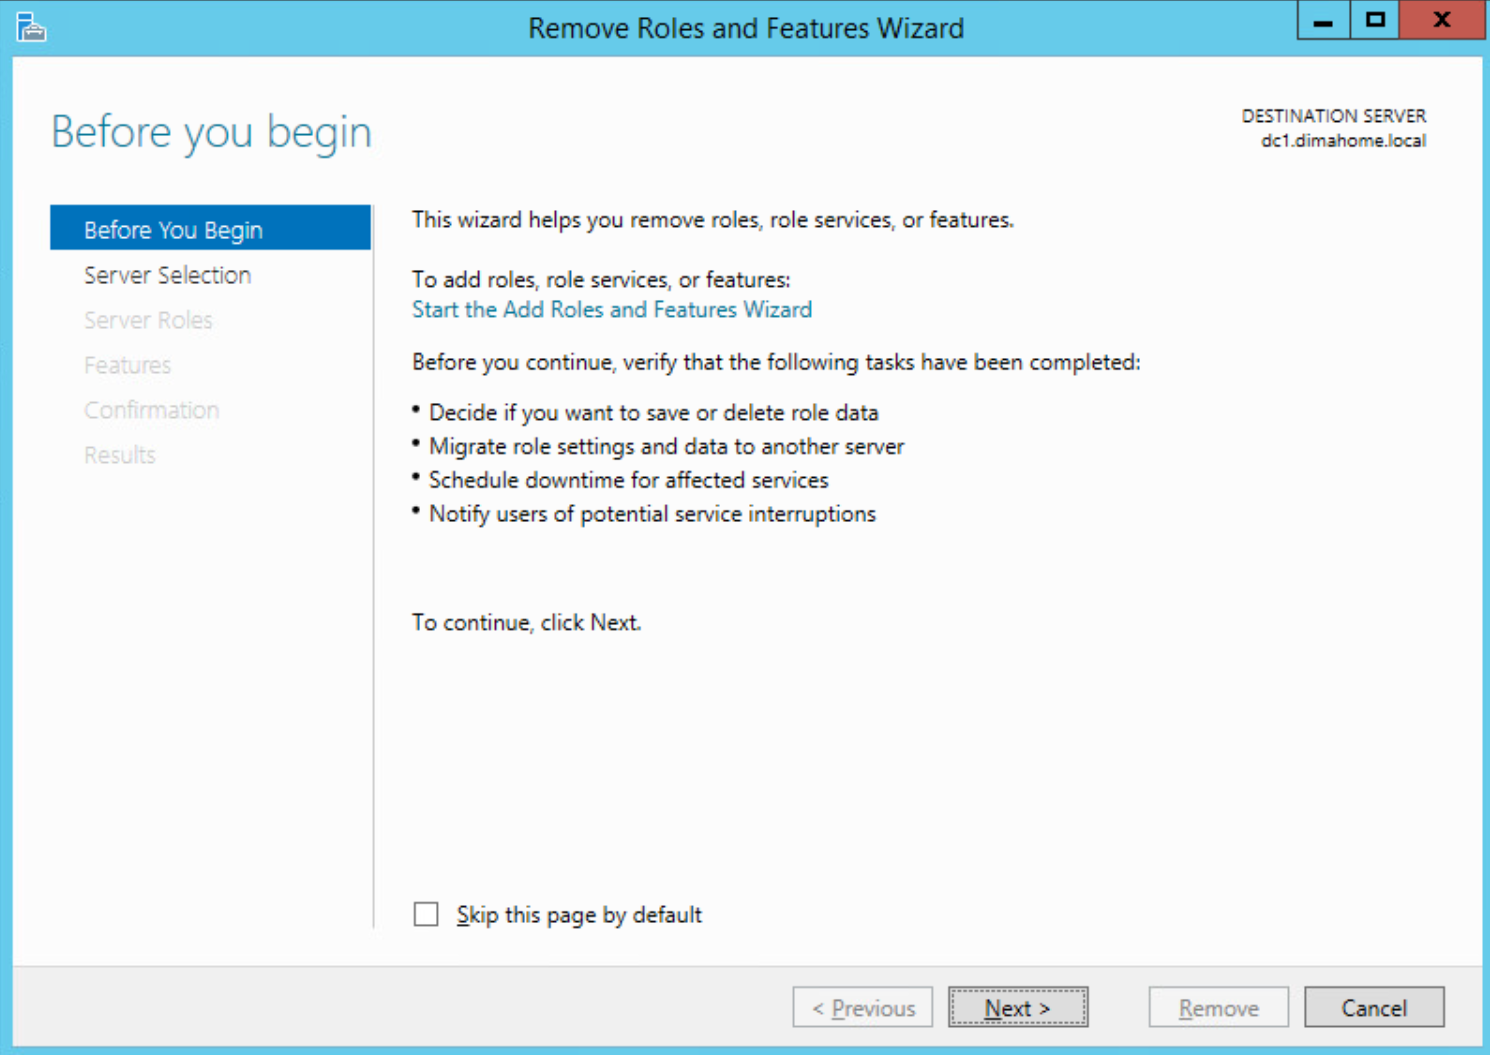
- In Server Manager, remove the Active Directory Domain Services role.
- Follow the prompts to demote the domain controller.
- Reboot when it’s done.
After demotion, the server was just another member server.
6.2 Remove AD DS and DNS Roles
Once the demotion completed, I made sure AD DS and DNS roles were removed so the server wouldn’t try to “sort of be a DC” anymore.
6.3 The IP Shuffle
To minimize disruption across the home network, especially for devices pointing to the old DC IP, I did an IP swap:
- Old DC (former 2012R2):
192.168.1.2 → 192.168.1.4 - New DC (2022):
192.168.1.5 → 192.168.1.2
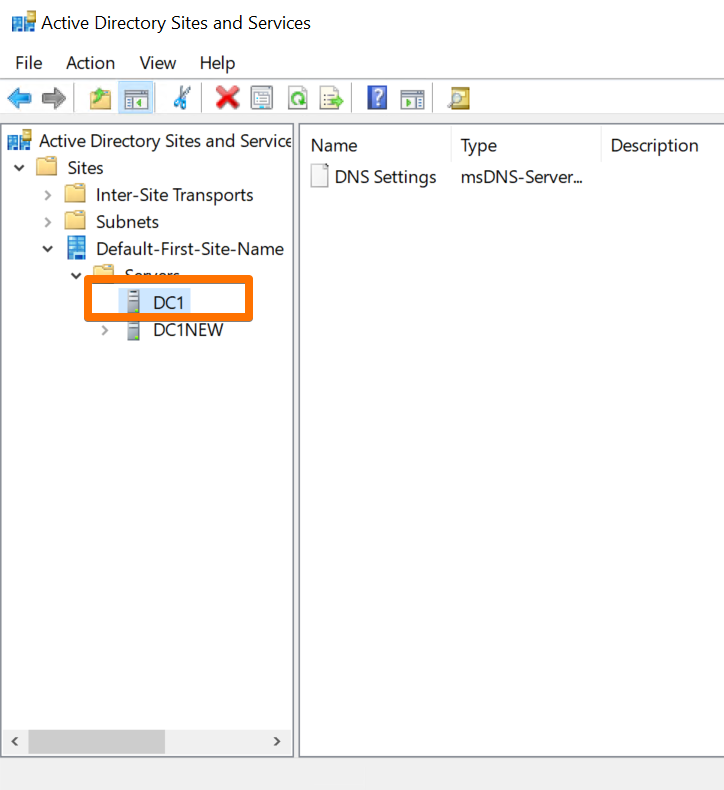
The idea was simple: let the new DC inherit the old DC’s “identity” from the perspective of the rest of the network. Don’t forget to remove the old DC.
And that’s where things got… interesting.
Step 7: Everything Explodes (“It’s always DNS — even when it absolutely shouldn’t be DNS… it’s still DNS.” Edition)
Almost immediately after the IP changes, the entire house came to a screeching halt.
- Web pages crawled or failed outright.
- Speed tests looked like they were being routed through a potato.
- Internet slowed down so much, my wife’s Cyber Monday shopping actually paused. Honestly the fastest way to save money.
- Fantasy Football trades didn’t go through and the team remained unchanged for a while. I lost the matchup by less than 5 points (!!)
7.1 Troubleshooting Phase 1: Overthinking It
Naturally, I assumed it was something complicated.
I checked:
- Switch ports and VLANs
- ESXi virtual networking
- DHCP leases
- Firewall rules
- WAN gateway and router logs
- ISP speed tests from the router itself
Everything checked out. The network was fine. The internet was fine. But nothing on the LAN was behaving.
7.2 Troubleshooting Phase 2: The Obvious Suspect — DNS
Eventually, I circled back to the thing that always causes this kind of universal misery: DNS.
On the new DC (DC1NEW, now at 192.168.1.2), I found:
- The NIC’s DNS settings were:
- Primary:
192.168.1.2(itself — good) - Secondary:
192.168.1.2or still pointing to the old DC before the swap (depending on when you check)
- Primary:
- The DNS server configuration had no forwarders defined.
So every time something on the network tried to resolve any external website, the new DC dutifully checked its local zones, found nothing, and then… didn’t know where else to go.
Local name resolution? Fine. External DNS? Facepalm.
Step 8: The Fix — DNS Forwarders and Clean NIC Settings
Once I stopped overcomplicating it, the fix turned out to be beautifully simple.
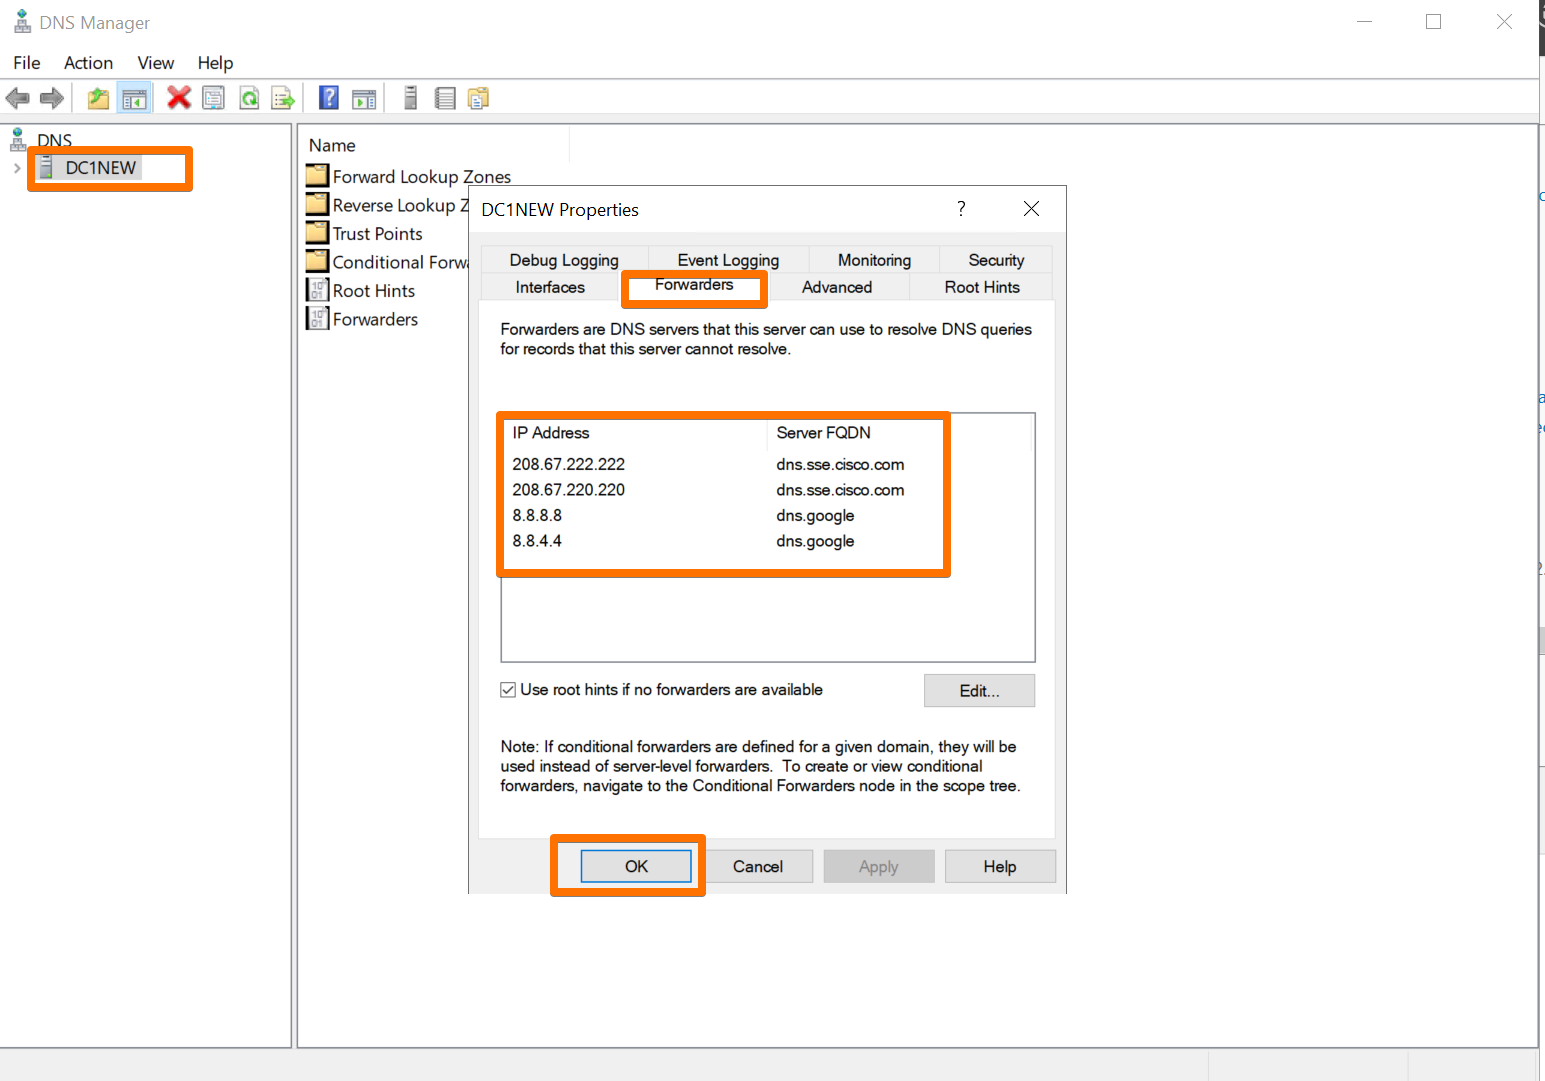
8.1 Add DNS Forwarders
In DNS Manager on the new DC:
- Right-click the server name → Properties.
- Go to the Forwarders tab.
-
Add upstream DNS servers, for example:
1.1.1.1(Cloudflare)8.8.8.8(Google)
Now, anything not in local AD DNS gets forwarded to proper internet resolvers.
8.2 Ensure the DC Points Only to Itself for DNS
On the DC’s NIC:
- Preferred DNS server:
192.168.1.2 - Alternate DNS server: (leave blank)
The DC should be its own source of truth. Pointing it at some half-alive or former DC is how you end up chasing ghosts at 11 PM.
8.3 Flush DNS on Clients
To speed up recovery (instead of waiting for caches to expire), I flushed DNS on a few key clients.
On macOS:
sudo dscacheutil -flushcache
sudo killall -HUP mDNSResponder
On Windows:
ipconfig /flushdns
ipconfig /registerdns
Almost immediately, everything snapped back into place.
- Web browsing was fast again.
- Speed tests looked like a gigabit connection should.
- Smart devices reconnected.
- My wife stopped glaring at me.
Conclusion: The Foundation Is (Finally) Ready
By the end of this little adventure, the basement lab had:
- A modern Windows Server 2022 domain controller at
192.168.1.2 - Cleanly transferred FSMO roles
- Healthy AD replication (while both DCs were present)
- A demoted and retired 2012 R2 DC at a non-critical IP
- Proper DNS forwarders and NIC DNS configuration
- Restored internet performance and local name resolution
Is any of this glamorous? Not even a little.
Is it necessary before you start layering on “Enterprise Data Cloud” magic? Absolutely.
With identity and DNS now in a good place, the lab finally has a stable, secure foundation.
In Part 2, I’ll:
- Join the Pure Storage arrays to the upgraded AD domain
- Enable and configure Pure Storage Fusion
- Start treating the basement rack less like a pile of gear and more like an actual Enterprise Data Cloud
Stay tuned. This is where the fun really begins.